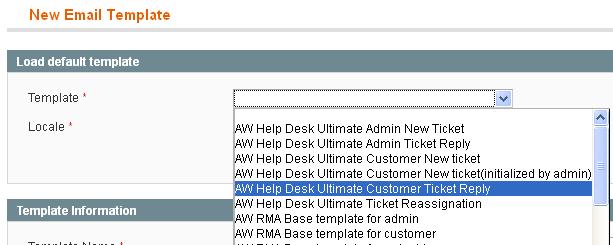
当我们对magento email机制有一定的了解之后,便可以在模块中使用自定义邮件模板快速实现发送邮件功能!登入后台system->Transactional Emails,单击右上角Add New Template,选择一个已存在的template,单击Load Template
修改Template Information的内容,包括Template Name ,Template Subject ,Template Content (可以在原有内容上修改,也可以重新清空写),Template Styles这几项内容。
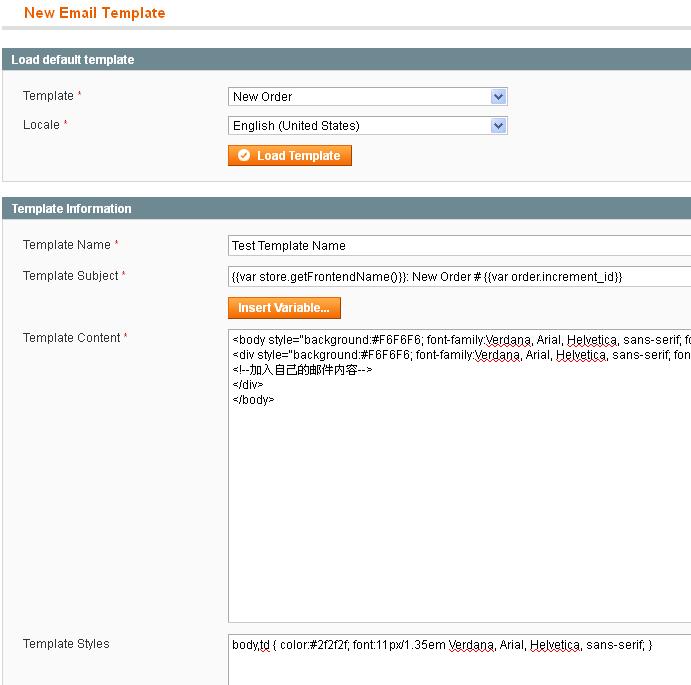
修改完毕后,单击右上角Save Template,找到最新的那条记录,就是我们刚刚加的,记下id为27;

进入mysql 找到table core_config_data,执行下面SQL
- INSERT INTO `magento`.`core_config_data` (`config_id`, `scope`, `scope_id`, `path`, `value`) VALUES (NULL, 'default', '0', 'customer/test/test_template', '27');
path可以自己定义,但是自己要记得我们这里随便定义为customer/test/test_template,value的值是27,就是上面刚刚我们新加的那条记录的ID。
最后就可以在模块中使用这个email模板了,code和之前文章里介绍的没什么区别,区别就在第一句 如下所示
- define('EMAIL_TEMPLATE', "customer/test/test_template");
- $mailSubject = 'my subject';
- $sender = Array('name' => 'Customer Service',
- 'email' => 'mail@test.com');
- $to = array('service@test.com');
- /*This is optional*/
- $storeId = Mage::app()->getStore()->getId();
- $template = Mage::getStoreConfig(EMAIL_TEMPLATE);
- $mailConfirm = Mage::getModel('core/email_template');
- $translate = Mage::getSingleton('core/translate');
- $mailConfirm ->setTemplateSubject($mailSubject)
- ->sendTransactional($template, $sender, $to, '',
- Array('subject'=>$mailSubject,'customer'=>$customer),$storeId);
- $translate->setTranslateInline(true);